Descrizione
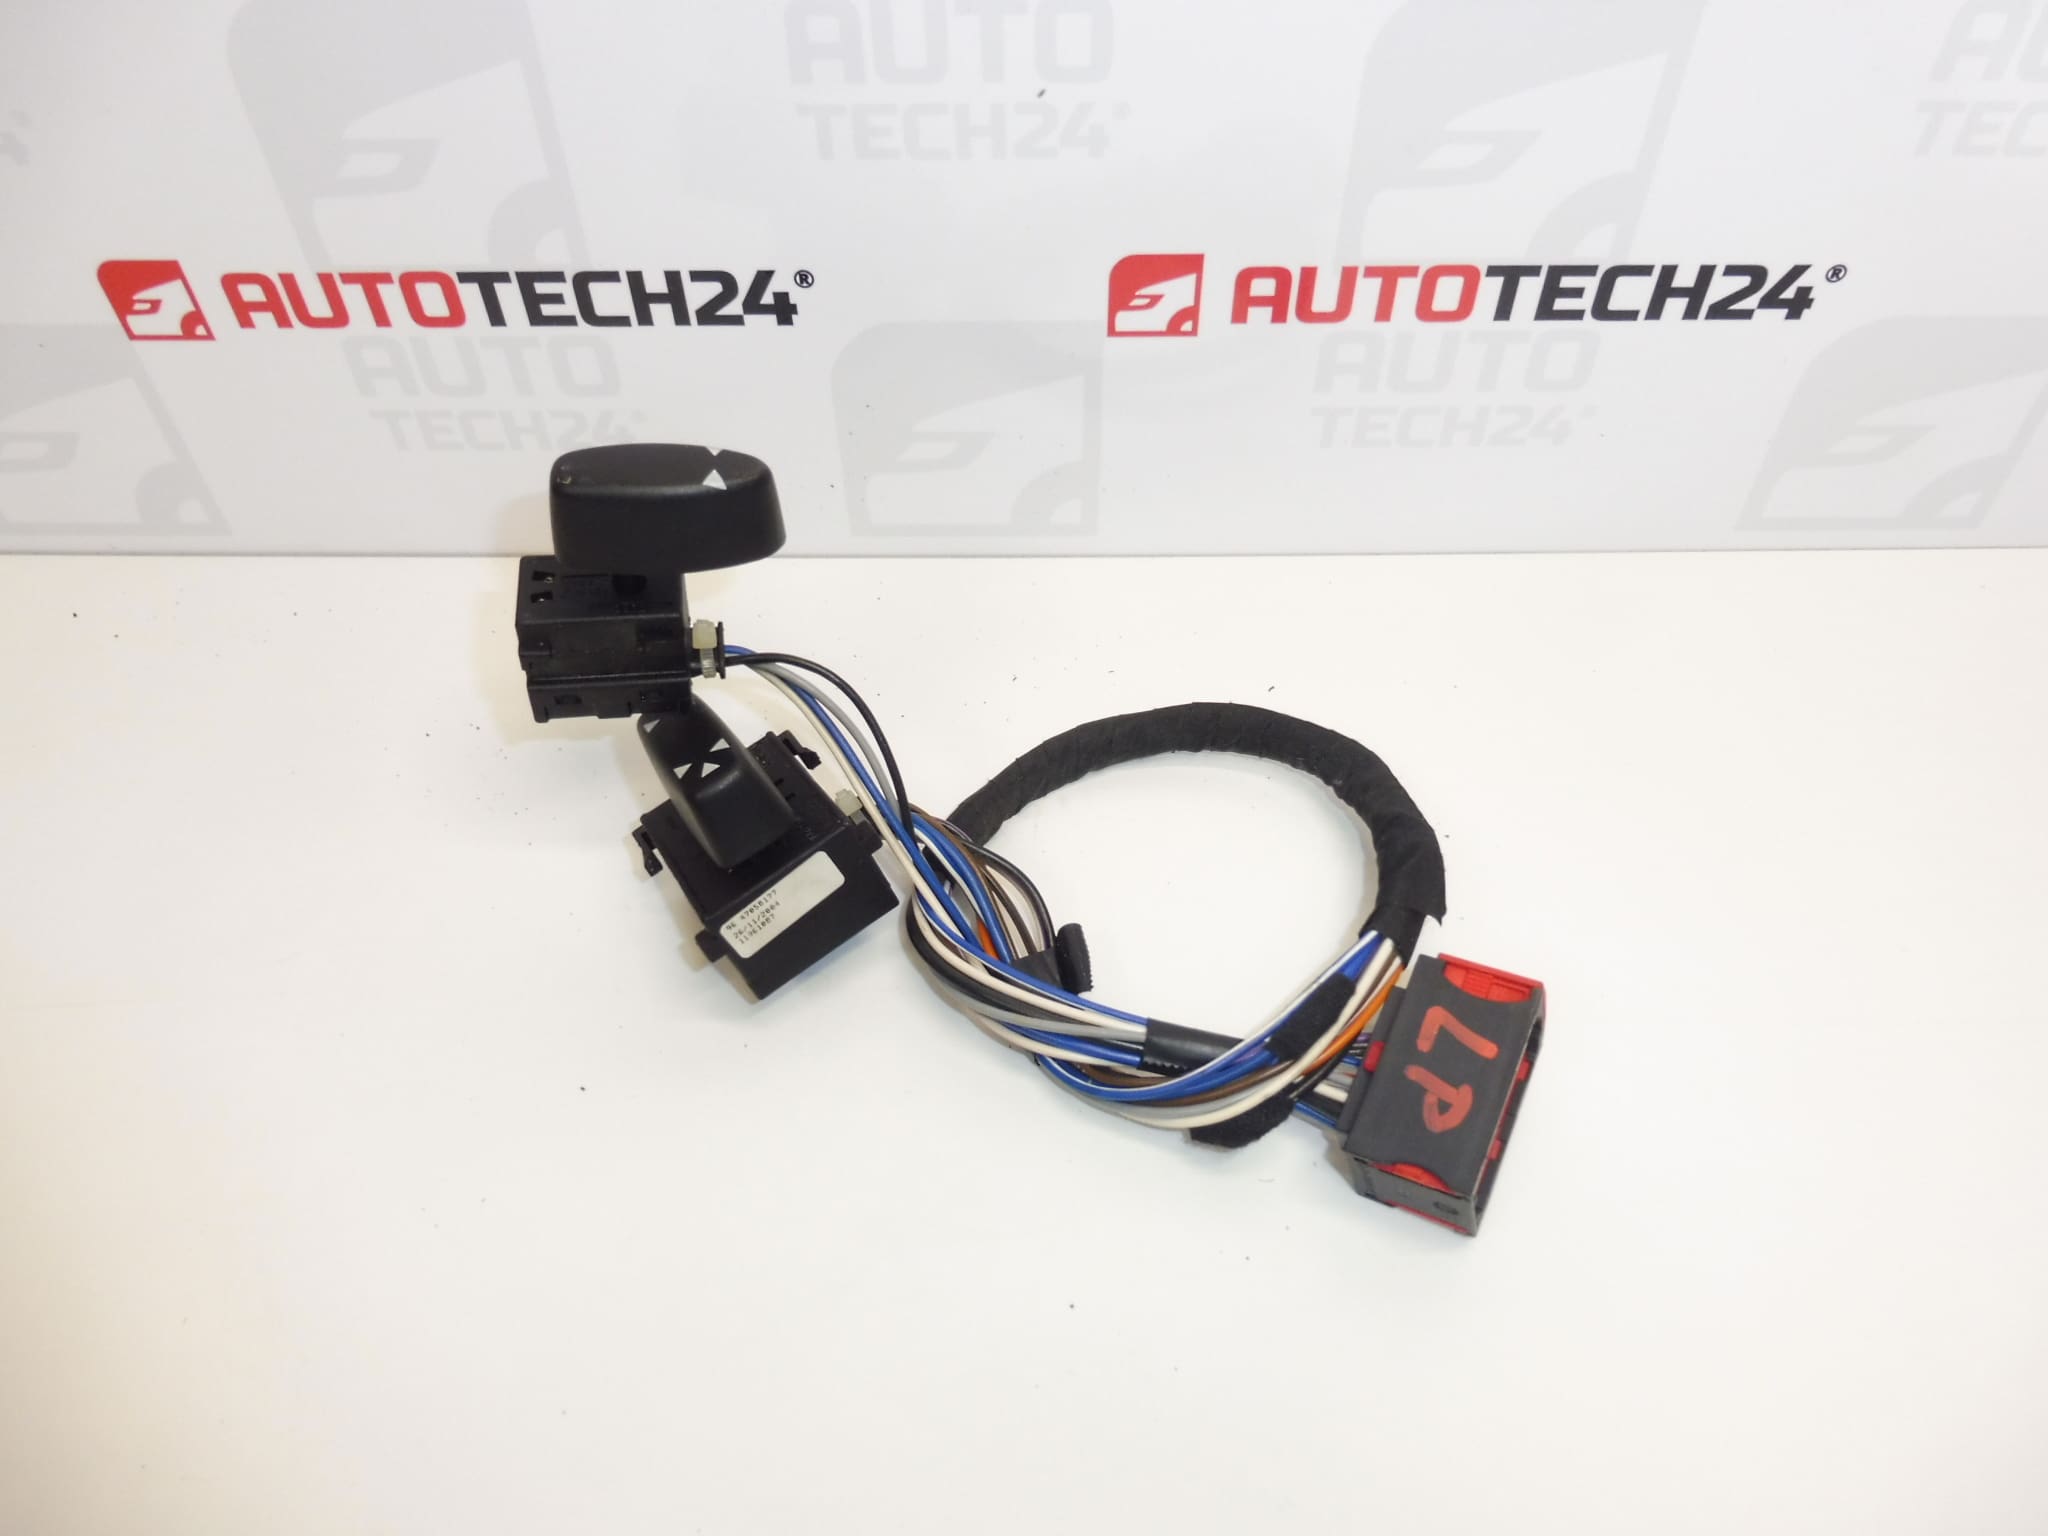
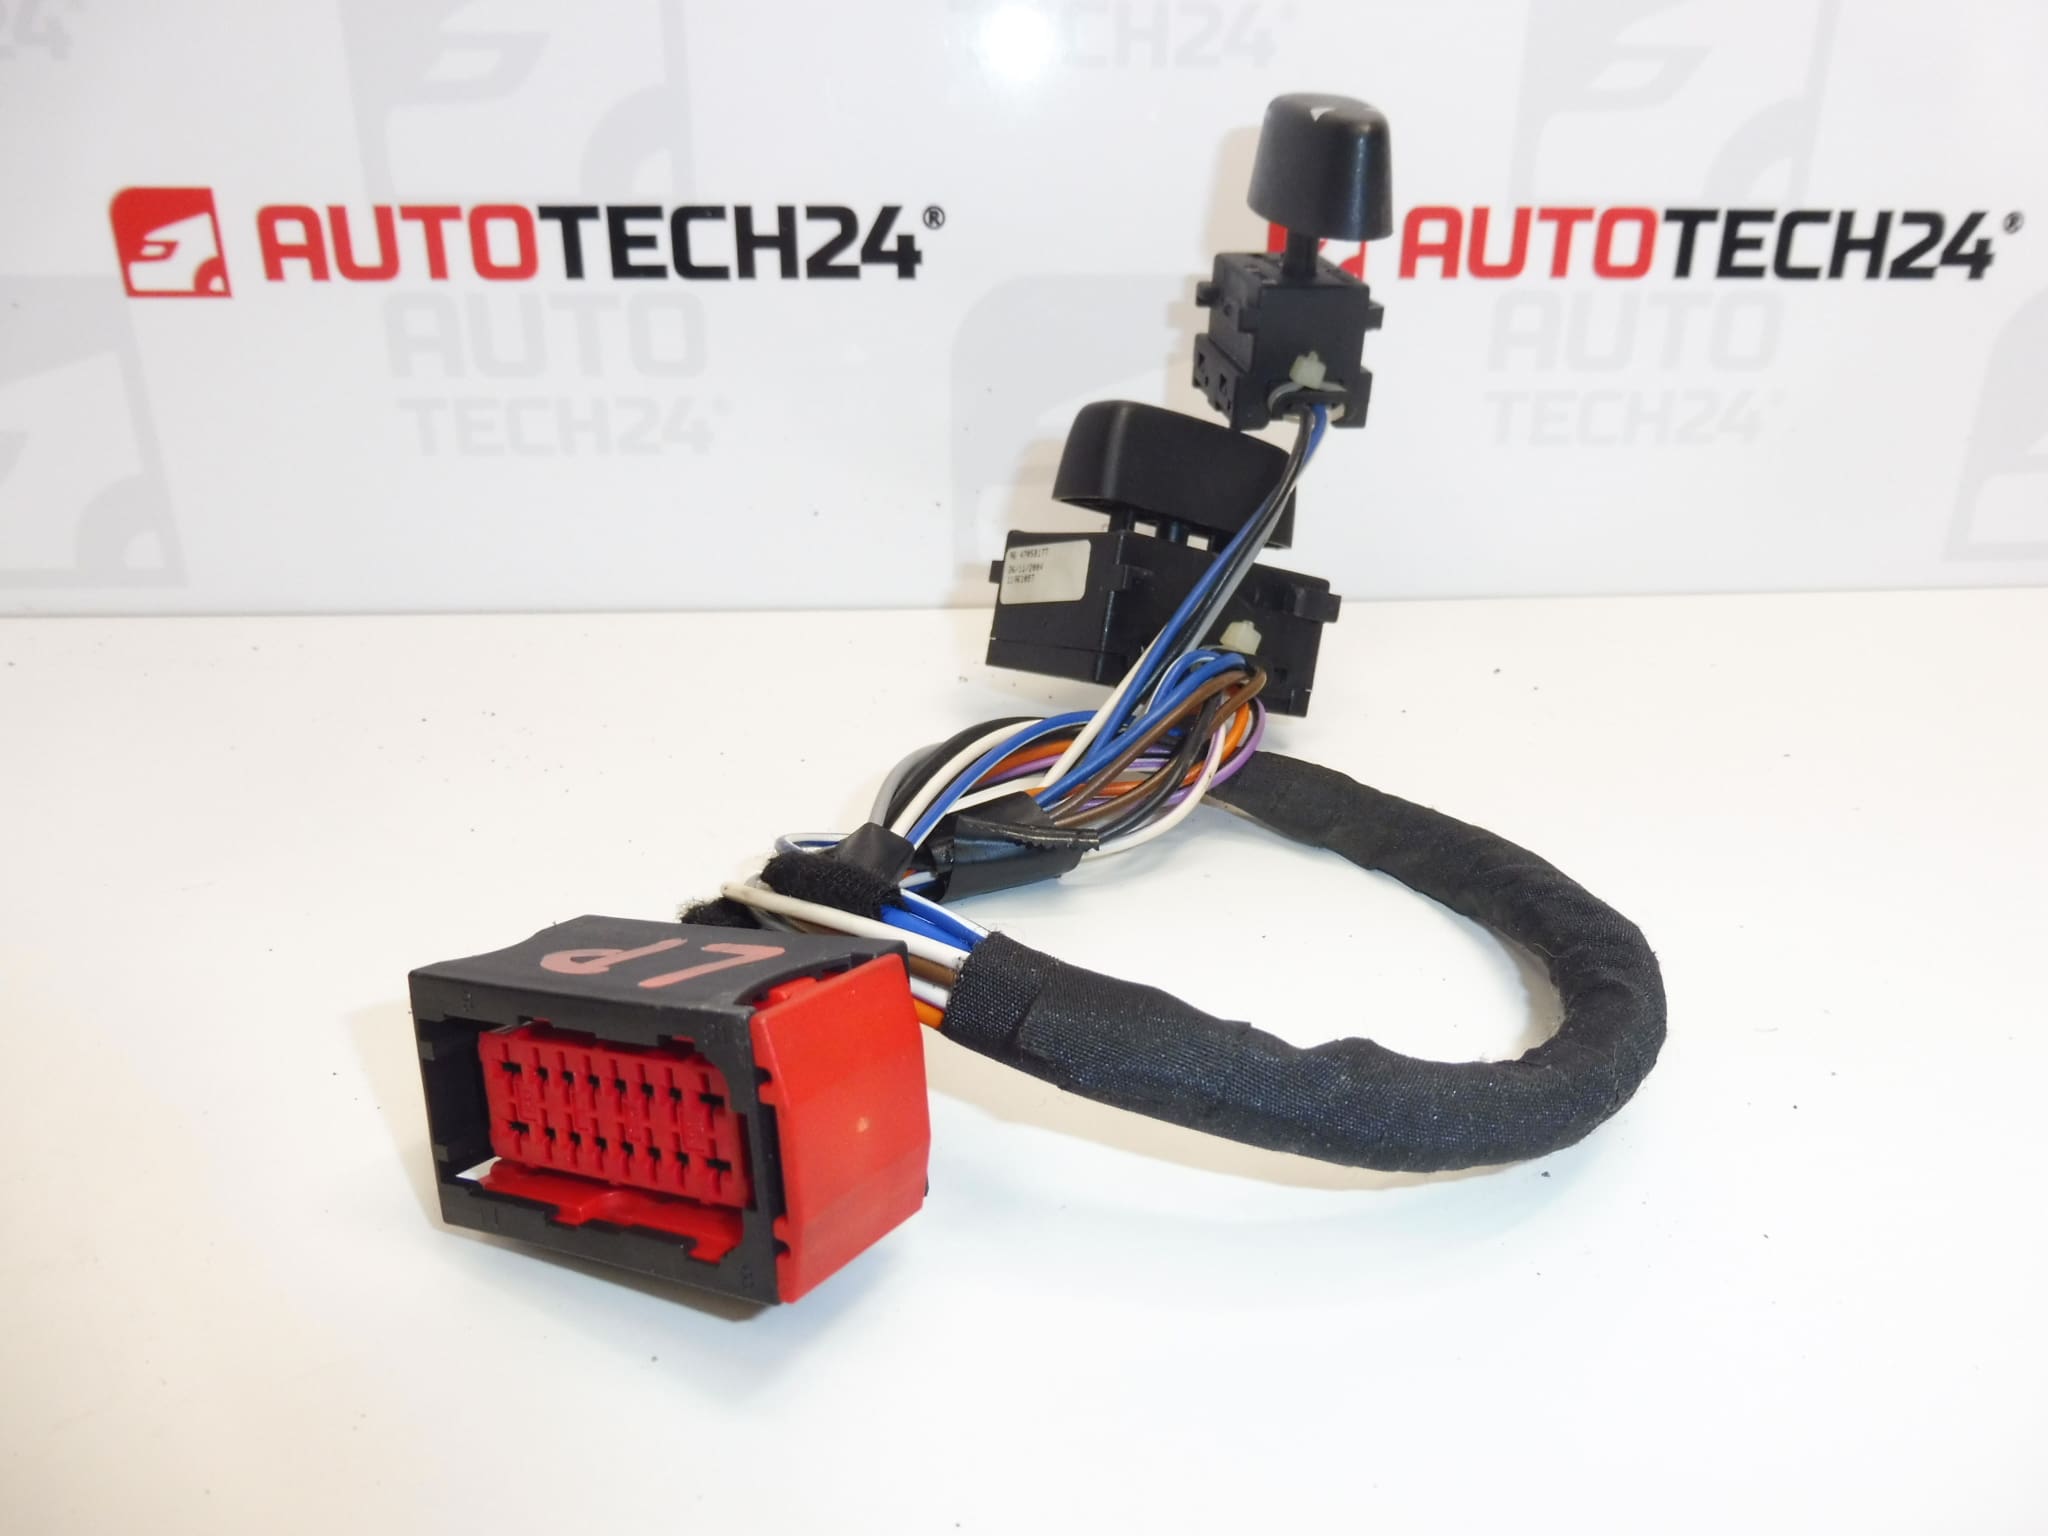
Driver’s electric seat control for PEUGEOT 407 vehicles
Part description
Used Peugeot 407 driver’s electric seat control is used to operate the electric seat adjustment. It is a suitable solution when replacing a damaged control if diagnostics confirm that the control itself is faulty. Replacing the control alone can therefore help restore comfortable adjustment of the driving position without unnecessarily replacing other components.
When selecting a part, compare in particular the product numbers 9647058177, 8914ES and 8899PP, as well as the connector design, mounting and controls with the original part. The fact that the vehicle model matches does not necessarily mean that the electric control has the same design.
Technical information
- Manufacturer: not stated; the documentation lists the designation Stellantis CITROEN PEUGEOT.
- Model: Peugeot 407.
- Part type: electric seat control.
- Application: driver’s seat.
- Condition: used part.
- Additional numbers: 8899PP.
Product codes
- Product codes: 9647058177, 8914ES, 8899PP.
The numbers listed make it easier to find the part and compare it with the markings on the original control. When selecting a part, also take its physical and electrical design into account.
Installation recommendations
The following general procedure applies to this type of electrical part. The precise method for accessing the control, removing covers and disconnecting the electrical system depends on the specific vehicle configuration. Follow the manufacturer’s service procedure, especially when working near the seat’s safety system wiring.
1) Before installation
- Compare the part markings, housing shape, mounting points, connector and control layout with the old part.
- Check that the used part has no cracked housing, damaged mounts, bent contacts, or signs of moisture or overheating.
- Make sure the controls move without sticking or excessive play.
- Before replacement, rule out other causes of adjustment failure, such as a power supply, wiring or drive fault, or a mechanically jammed seat.
2) Tools and materials required
- Standard hand tools suitable for the actual fasteners.
- Plastic tools for carefully removing interior trim.
- A flashlight, clean cloth and, if necessary, a product suitable for cleaning electrical contacts.
- Suitable measuring or diagnostic equipment as required; do not use it to test safety system circuits without the necessary expertise.
3) Step-by-step installation procedure
- Secure the vehicle against movement and clear the work area around the seat.
- If the original control still works, adjust the seat to make access to the required covers and mounting as easy as possible.
- Switch off the ignition and disconnect the battery in accordance with the manufacturer’s service procedure. Observe the specified waiting times before working on the electrical system.
- Carefully remove the covers needed to access the control. Do not force the clips, and check for hidden fasteners as you work.
- Before disconnecting the original control, record the wiring routing and how the control is mounted, for example by taking a photograph.
- Release the connector lock and disconnect the connector by holding its housing, not by pulling on the wires.
- Remove the original control and inspect its mounting and the accessible part of the wiring. Any damaged connection must be addressed before installing the replacement part.
- Compare the two parts side by side again. If the connector or mounting differs, do not force the installation or modify the part.
- Position the replacement control and secure it in the same way as the original configuration. Do not overtighten plastic parts.
- Connect the connector, check that it is secured, and route the wiring so that it cannot be pinched or caught in the seat’s moving parts.
- Refit the covers and reconnect the battery in accordance with the manufacturer’s procedure. Then check that the control works.
4) Post-installation checks and function verification
- With the vehicle stationary, test each function offered by the specific control configuration in turn.
- Check that the response is smooth and that movement stops when the relevant control is released.
- Check that the control and covers are securely fitted and that the wiring remains clear as the seat moves.
- If the response is erratic, or there is an odour, heating or unintended movement, stop testing and have the cause identified.
- A test drive is not necessary for a basic check of the control. Adjust the seat to a safe position before driving.
5) Common installation errors and how to avoid them
- Replacing the part without confirming the cause of the fault: first check whether the problem is with the power supply, wiring or seat mechanism.
- Choosing a different configuration: compare the part numbers as well as the connector, mounting and controls.
- Breaking clips and damaging wires: use suitable tools, release the locks and do not pull on the wiring.
- Wires pinched after reassembly: check their routing and clearance from moving parts before refitting the covers.
- Working with the power on: follow the manufacturer’s procedure for disconnecting and reconnecting the battery.
Reasons why the part becomes damaged
For electric seat controls, the following are common general causes of faults; they do not describe the condition observed in the item offered for sale:
- Wear to the control mechanism and contacts through prolonged use.
- Mechanical stress, impacts or excessive force when using the controls.
- Ingress of liquids and dirt, which may cause sticking or corrosion of the contacts.
- A damaged or loose connector, which can lead to intermittent operation and heating at the connection.
- Careless previous removal, which can damage the mounts, control housing or connection.